Real Estate Marketing & Beyond
A leaky roof can be a root cause of series of cascading issues in your home interior ranging from waterlogged insulation to damaged floors. Roof repair is important in order to maintain your home but fixing a roof can be hazardous. Well, by hiring a proper residential roofing company or an assistant, this project can be completed safely. Never work on the icy, wet and snowy roof as well as remove debris.
There are several companies available in the market like Guelph roofing company, providing the best residential roofing repair solutions at an affordable cost. Therefore, if you do not have enough skills, do not worry you can get your roof repair done without breaking your bank. However, if you have enough skills, you can also do it by yourself by using minimal material like roofing nails, roofing tar, shingles, felt paper and 1/2" plywood.
Tool needed
Following are the tools needed if you are planning to repair the roof by yourself.
Steps for roof repair
One of the primary steps that you should spend some time on is to locate the leak in your roof. Use a flashlight and it is recommended to follow the vertical line from floor to the roof. Most leakages begin few feet high from the roofline. The location of the leak may have black or white stains or mould.
One of the major sources of a roof leak is a roof vent. It is important to examine roof vents including fans attic, pipes or any other metal flashing extending to the roof. Check out the condition of the vent. The vent may be dislodged. Check if any missing nails have been holding the vent.
If the roof vent is damaged, remove it. Using a pry bar, pull out nails holding the vent to the shingles. Pull back shingles using pry bars that are covering the roof. For this task, it would be good if you have an assistant with you. Make sure you do not remove shingles. In the end, remove nails holding the vent on the roof deck and remove the vent.
Apply a thick layer of roofing sealant or cement to the vent’s flashing. To prevent leakage, make sure that the lower section of the flashing ride over the shingles. Cover all the nails with sealant or cement.
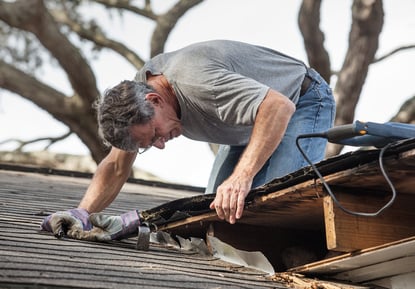
Check out if any section of the roof is damaged like a roof deck, shingles or roofing paper. Remove the damaged area. Take out the chalk and mark the damaged area. By using a pry bar, remove nails if any. Replace the damaged section with a new one.
Clean all the waste material from the roof and let it dry. After it is dried, inspect your roof checking out if any leakage is still there. If no, give a tap on your shoulder, YOU HAVE DONE IT.