Real Estate Marketing & Beyond
If you are north of the equator, you should be expecting fall weather to soon start setting in. For those in northern climates, that means your days of comfortably working outdoors are limited. Those in southern climates may find the cooling temperatures more enticing for working outside. For both, it’s a good time of the year for outdoor projects.
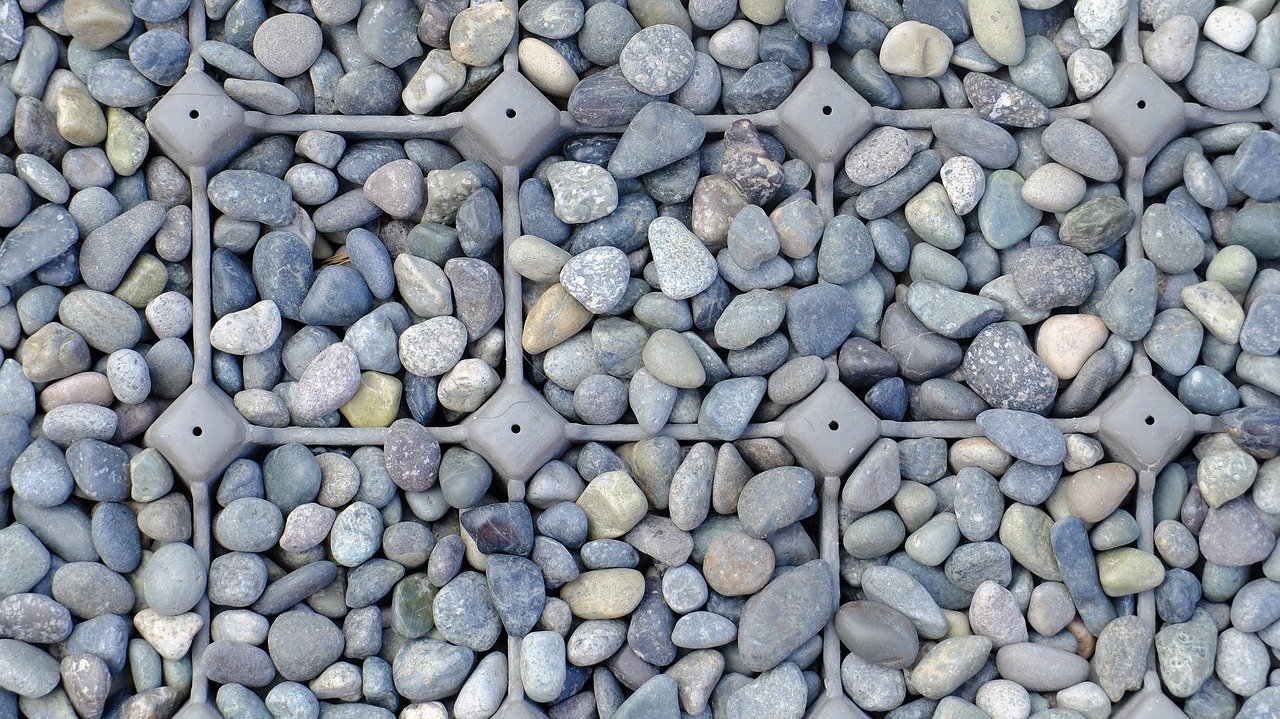
Fixing muddy pathways. The eventual rains could make taking out the trash, a trip to the compost, or even getting to your car a trek along a muddy path. Make this the year that you permanently rid yourself of that problem. There are several options for the beginning DIYer or the more skilled homeowner. Probably the easiest is finding rocks around your yard to form a boundary for the path. Then you contact a stone gravel supplier so you just fill in with gravel between the rock boundaries. Since water always seeks the lowest level, what you need to do is build the gravel up above the surrounding terrain. That will give you a clean and dry path to get to where you want to go. If you don’t have a convenient source of rocks for the border, your favorite home improvement store has a variety of bricks and pavers to form the border.
A more attractive but slightly more difficult pathway can be built with pavers stones. You don’t usually need a border for these and they don’t need to be mortared into place. What you want to do is flatten the ground where the path will be built. It doesn’t have to be completely level nor does it have to be completely flat. But you should take out any grass or other vegetation where the pavers will be laid to minimize the weeds, grass, and vegetation that grows between the pavers next spring. Use a couple of garden stakes with string tied between them to give you a straight guide for the path. After digging out the grass and about an inch of dirt, add a thin layer of gravel to form a bed for the pavers. It’s a good idea to tamp down the gravel thoroughly so that the pavers won’t shift over time. Next, you want to top the gravel with a layer of concrete sand (don’t use play sand). Concrete sand has jagged edges that lock together, lock the pavers in place, and keep the pavers from shifting over time. You can place a 1” X 1” board (or a piece of pipe) on each side of the path. Drag a third board such as a 2 X 4 over the top of the outside boards to remove the excess sand This leaves a level bed of sand for the pavers to rest on and gives you a trip-free path. Your next step is placing the pavers onto the bed of sand. A common and durable pattern is using straight pavers (brick shaped) on the outer edge with interlocking pavers between them. Finally, after all the pavers are in position, sweep another layer of dry sand into all the joints to hold them in place. You’re done and have a dry clean pathway for the coming rainy months.
If your pathway has curves, you can use bender board or plastic garden edging (instead of straight string) to form the curves. This is going to require more work and more skill because some of the pavers will need to be cut to conform to the curves. To make quick cuts, be sure to use a saw with a diamond-coated blade and not an ordinary masonry blade. Mark the bricks with a pencil and make the cut – it’s not as difficult as you might think.
Light your way. While you’re working on the pathway, consider adding some safety and security to your home with low voltage landscape lighting along the path. Because it's low voltage, it's safe to use and install, even for beginners. Talk to your home center customer representative about which lights are most appropriate for you. You’ll find everything from a prepackaged set of 6 lights for less than $70 to architectural grades that run $100 or more for each light. Tip: If your lights come with press-on fittings—the type that bite through the insulation and into the wire to make their connection—cut them off and use more reliable wire connectors. Your best approach is laying out the lights and connecting the wiring before burying the wire. Turn them on at night to be sure you are satisfied with the results. Then bury the wiring at least 6 inches deep to keep it from being damaged if you decide to aerate your lawn in the future. A good rule of thumb is putting no more than 100 watts of lighting on one line. This avoids “voltage drop”. You can also minimize voltage drop by using a thicker gauge wire.
Please leave a comment about your own DIY projects and experiences or if you have questions/comments about this article.
 Author bio: Brian Kline has been investing in real estate for more than 35 years and writing about real estate investing for 10 years. He also draws upon 30 plus years of business experience including 12 years as a manager at Boeing Aircraft Company. Brian currently lives at Lake Cushman, Washington. A vacation destination, a few short miles from a national forest. With the Pacific Ocean a couple of miles in the opposite direction.