Ask Brian is a weekly column by Real Estate Expert Brian Kline. If you have questions on real estate investing, DIY, home buying/selling, or other housing inquiries please email your questions to [email protected].

Question from Ben in WY: Hey Brian, I’ve been following your DIY ideas. August is kind of a unique month in the year when temperatures are the warmest and the family wants to be outside. What should I be thinking about for DIY projects this time of the year?
Answer: Hello Ben. You are correct, there are some outdoor DIY chores and tasks that are best done in August, and later in the summer after the sun has the chance to dry things out. This is especially true in wetter climates and climates that have four seasons. August is also a time of the year to spend time in your yard. Be sure to find a balance between keeping up with chores and enjoying the work that you’ve already accomplished.
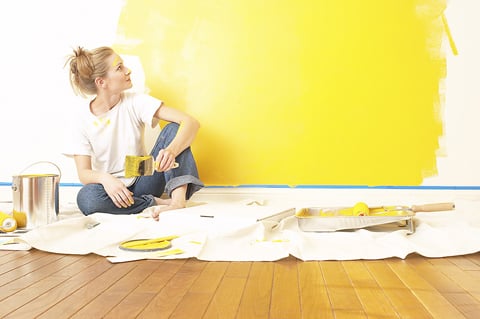
Paint your own home. If your home needs a fresh coat of paint, August is the best time to tackle this chore. It’s a big task but just about anyone in reasonable health can do it themselves. Warm, dry weather is ideal for painting outside because the paint will dry quicker and more evenly, resulting in a more professional job. The size of your house and whether or not you already have the needed tools will determine how much a full paint job costs. If your house is about 1,000 square feet and you already have the more expensive tools like a sturdy ladder and pressure washer, the cost should be less than $1,000. If you have to buy most of the tools, it could be closer to $1,500. If your house is two-stories (requiring an extension ladder or renting scaffolding) the cost can get up over $2,000. There are relatively inexpensive power spray paint machines that you might want to consider that will greatly speed up the job. But using a sprayer does add more preparation time. Here is the painting sequence you want to follow.
Cleaning up mosquito and insect habitats is another chore that can be done in August or earlier in the summer and even spring. The good news is that mosquitos and most other summer insects all have the same basic life cycle and habitat preferences. The best place to start is by looking around your yard after it rains. Look for objects and areas that collect standing rainwater. Mosquitos lay eggs in standing water that doesn’t need to be more than a ¼ inch to create a breeding ground. You need to find creative ways to drain the water away after it rains. For instance, if you have a tire swing in the back yard, drill a hole in the bottom. And there are those annoying rain gutters on the house. If the gutters haven’t been cleaned, the moist debris makes an ideal breeding ground. Some standing water, like a children’s small pool, can be treated with chlorine but be sure you don’t overdo it. You also want to clean filters in water fountains and run them frequently to discourage egg-laying. Landscaping should drain water away from your house and yard but if you need a short term fix, there are chemical “mosquito dunks” that kill only mosquito larvae. These won't harm fish, birds, or other animals.
Outdoor movies can be relaxing after your chores are done. If you have a giant indoor TV, you could pull that out into the yard but for a real movie night outdoors you need a portable projector. You’ll be surprised how many outdoor projectors are on the market. Pay close attention to the lumens (brightness) and the resolution at the distance you’ll have the projector from the screen. Also be sure the projector works with the format you’ll be using (Blu-ray, external hard drive, HDMI, etc.). For the screen, an old DIY standard is a white bedsheet tacked up on a fence or wall. You can also purchase an outdoor screen if you think it’s worth the cost. The other essential is good quality sound. A basic soundbar can be hooked up to most projectors or you might use an outdoor Bluetooth speaker. When you purchase the projector, be sure it’s compatible with the sound system. Ben, I’ll leave the seating and snack bar details to your imagination.
Please add your hot summer DIY comments.
Our weekly Ask Brian column welcomes questions from readers of all experience levels with residential real estate. Please email your questions or inquiries to [email protected].