Ask Brian is a weekly column by Real Estate Expert Brian Kline. If you have questions on real estate investing, DIY, home buying/selling, or other housing inquiries please email your questions to [email protected].

Question from Joel in LA: Hello Brian. I’ve been in my first house for about eight months. People would describe me as a computer and video nerd rather than a carpenter. Now that I own a house, I’d like to learn how to do some of the projects myself to save a few bucks and feel like I’ve accomplished something. Where do I start if all I have are a hammer and screwdriver?
Answer: Hi Joel. It might surprise the nerd in you that Technavio (an emerging technology website) predicts that the DIY market will reach almost $14 billion by 2021. There are a lot of reasons people decide DIY is a good hobby for them. The cost savings are pretty evident. Some people like the creativity it allows them and find it a healthy way to unwind and escape from the stress of every-day life. On the tech side, the availability of countless YouTube videos and printing a computer “shopping list” to take to a discount hardware store has appeal. Regardless of our technological society, people still like building things they can call their own.
For beginners (and often the experienced) deciding on and starting a project is half the battle. For the beginner, a good place to start is with a list of projects that are easy to build skills and confidence in a short amount of time. This short list exposes you to the major systems in your home and will build entry-level skills in each area.
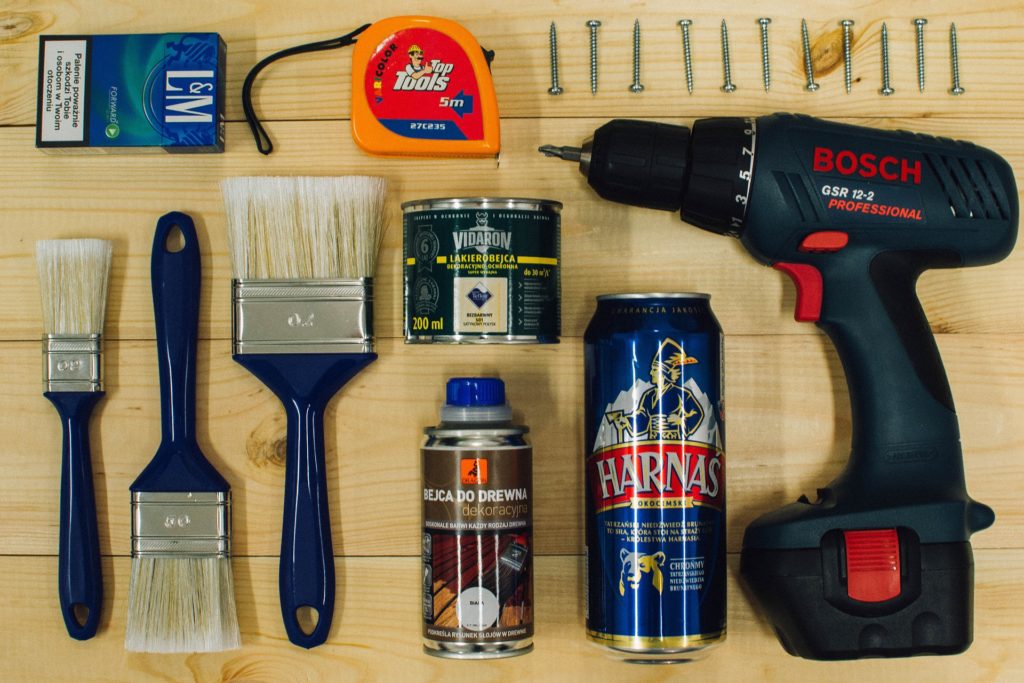
Paint a room. There’s more to this than buying a bucket of paint and a brush but it does make a good beginning project. Go ahead, explore all of the paint color options out there, and talk to a store expert about how to apply it. Most interior home walls can be painted quickly with a roller and a small brush to do the edging. But don’t just start painting when you get back from the paint store.
Preparation work is at least half of the job. Start by moving all of the furniture so you can easily get at the entire wall. Then cover the furniture because paint rollers throw off spray. You almost certainly need to put down drop cloths on the floor – both to protect from the spray and drips. Also, use a screwdriver to remove covers from light switches and electrical outlets. Of course, take down any wall hangings and look around for anything else that might be in your way.
Then you need to prepare the wall surface for painting. How much work is involved depends on the condition of the wall. Maybe it only needs a good dusting or wiped down with cleaning solution (be sure it dries before painting). More likely, a few nail holes will need to be filled with spackle or plaster (you might have to return to the store for this and a putty knife). If the paint is peeling or flaking, you’ll need to do some sanding and maybe retexture part of the wall (this is a skill you’ll use again when you take on more advanced projects). Once the wall is prepped and clean, all that’s left to do is roll on the paint and do the trim with a brush.
Wall mount a flat screen TV. Now that the wall has fresh paint, you might want to mount a TV, mirror, or large picture. This is a good project for checking out a few YouTube videos. Your TV might come with the needed hardware or you can purchase it separately. Either way, these come with basic instructions. There are three important things to consider before you start mounting it.
1. Where is the best place in the room to mount it? A good way to do this is by cutting out a piece of cardboard or butcher paper the size of the TV screen (mirror or picture). Tape it to the wall where you think you want it. Sit in your favorite chair to make sure the TV will be in the right place. Use a level to make sure it’s not tilting. Lightly pencil mark both sides, the top, and the bottom before removing the paper.
2. Use a stud finder to locate wall studs where you plan to mount it. Pencil mark where you find the studs. Hammer in a small nail to confirm a stud is there.
3. Be sure there is an electrical outlet convenient for this location.
Follow the instructions for securing the wall mount hardware. You may need to do some measuring here to be sure the mount positions the screen where decided you want it. It’s normally easiest if you have a friend hold the mount on the wall so that you can pencil mark through the mounting holes where to drill for the bolts or screws – again, make sure this is where the studs are. Also, use a level to be sure the mounting holes will be even. A good rule of thumb is always to “mark twice, drill once.”
All that remains is following the instructions to mount the TV. Tip: the hardware store has cord covers to hide the cables and electric wires dangling from the bottom of the TV.
Joel, after finishing these beginner projects, you can move on to projects involving electrical wiring and plumbing. Good ones to start with are replacing a light fixture and replacing a water faucet. After that, let your imagination lead you to all kinds of more advanced DIY projects.
Happy DIY project making!
Please comment with their thoughts and experiences getting started with DIY projects. Our weekly Ask Brian column welcomes questions from readers of all experience levels with residential real estate. Please email your questions or inquiries to [email protected].