For property managers and real estate agents, great property photos are one of the key components for attracting potential buyers. In fact, according to Redfin, 92 percent of home buyers are now using the Internet as part of their home search, and cite listing photos as a critical factor in the selling price of a home and how quickly it sells – or if it sells at all.
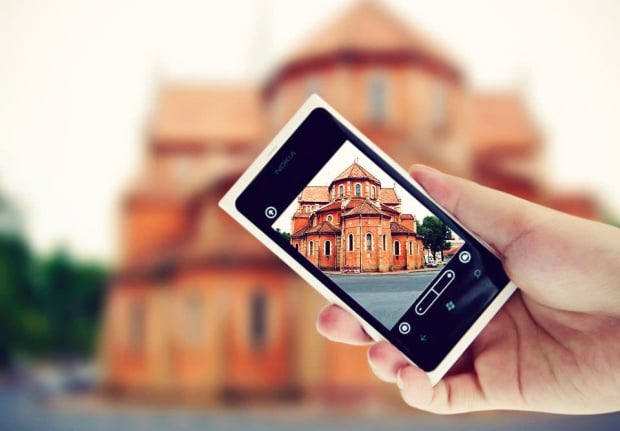
Fortunately for your wallet, this doesn’t mean you have to buy an expensive, professional-grade camera, take a photography class or hire a professional photographer. In fact, the best camera you have is the one in your pocket, and there are a few simple and proven tricks to improve your shots.
Here are five simple ways to take great property photos with your smartphone:
- Avoid the “Golden Hour” – This is the time when the sun’s glare shines right through windows and muddles the exposure, whitewashing the photo and removing any visible detail. To avoid this, try to schedule shoots for midday when the light is softer and not shining directly through windows. If you’re not sure when this is, try using the Golden Hour app.
- Abide by the rule of thirds – This is composition 101 and aligning your photo in this way is more visually appealing to buyers. For example, if you’re shooting inside, the floor, middle of the room, and ceiling should all represent a third of the photo. Keep in mind that the main focal points fall in the middle, so if possible, capture something interesting there, like a nice backsplash.
- Keep your focal planes flat – This is probably the top offender when it comes to bad real estate photos because unsteady camera angles can make rooms appear warped. Luckily, this can all be remedied with a mini tripod to keep your camera vertically aligned. In fact, consider a tripod non-negotiable. It helps stabilize your shots and it’s insurance against blurry photos. Look for a 60-inch tripod with a mount. This way you don’t have to use a table or chair to elevate your phone.
- Shoot from the corners – This will help you get the widest possible angle of the room, making it appear bigger. Potential buyers can also see how the rooms connect, giving people a better frame of reference as to how they’ll be living within the property.
- Get low: Resist the urge to get high-up in the corner and point down, especially in small spaces, like a bathroom. This will make the photo look distorted. Shoot from 3-4 feet above the ground to achieve the most natural view of the room.
If you’ve ever hired a photographer, they may have brought a slew of equipment: flashes, triggers, a bounce board, maybe even an assistant. But you don’t need all of that to set up a great shot. With the help of your smartphone, a few apps and these best practices, you can take professional-grade, ready-to-post photos on your own at a fraction of the cost.
About the author: Katrina Langer is a content marketer at Buildium with more than five years of experience in writing and SEO, and has worked with a number of Fortune 500 companies to improve their website experience.
Latest posts by Guest Author
(see all)