Real Estate Marketing & Beyond
For even the greenest of weekend workers, tackling a tile backsplash in your kitchen can be one of the most manageable and rewarding home improvement projects. A tile backsplash adds color, character, and eases clean-up in any kitchen.
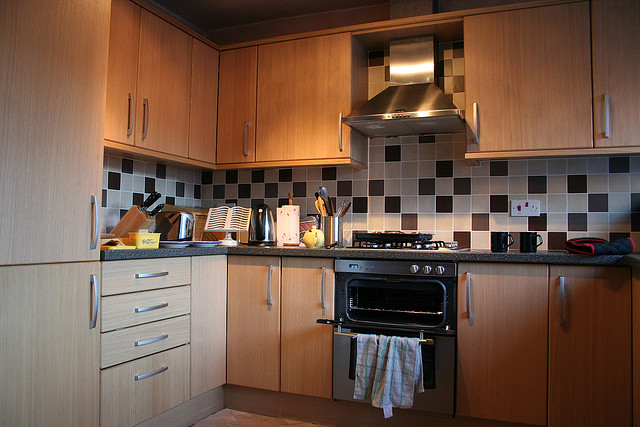
photo credit: Turkinator via photopin cc
Why Tile At All?
Ceramic tile makes a much more practical surface than painted drywall for you (and for future homeowners and other potential buyers) when cooking and cleaning. Any splashes of grease, water, tomato sauce, or whatever you might be cooking will be far easier to wipe off of a ceramic or glass surface. On paint, even the smallest splash can lead a stain or damage the paint. This gives you a more sanitary and simple space.
Tile is not just practical, it’s also beautiful. It will add color and style to any space. This is a place to express style – with that means hand-painted patterns and images, geometric patterns, simple glass, or classic white. It will make your kitchen pop without hurting your pocket book. A tile backsplash is a great investment in preserving your home’s beauty and quality.
How to Tile, When to Tile, Who to Ask for Help…
First thing is first, measure your area and mark it off. Then, head to the tile store. Make sure to consult the staff about the proper materials to use and about how much tile you actually need. If you use larger, thicker tiles, you will likely need to rent a tile cutter. This will use water to ensure the tile doesn’t crack or snap. If you use a smaller tile, it will likely come in sheets which can more easily be cut. This is a better option for most first-timers. Tiles that come in sheets are also much easier to keep straight, and it makes the whole process faster.
Your local home improvement shop will also be a great resource in choosing grout. You will want to choose a color that coordinates with the tile and the kitchen. Since this is an interior space and won’t see all that much water and moisture, you will also want to use a finer grout.
When installing the tile, you will want to put a thin layer of mastic or thinset on the wall – scoop this with a trowel. You will want to use a v-notch trowel at an angle and completely cover the area of your first few tiles or sheets. Remember to read the directions!
Once you have done this, you will want to work fast. Place your first tile or set of tiles lined up to your markings – don’t be afraid to readjust the first one. Once the first is up, that will be your guard, so it is crucial that it is straight. From here, work each new tile or set of tiles against the first. You’ll also want to cut as you go – things may shift, so pre-cutting is almost always wasteful. When the area is completely tiled, let it sit overnight.
The next day, you will grout the tile. Place grout on a trowel – this time straight-edged. Make sure the grout gets in between every tile, then clean up with a large sponge. Let it sit again, and VOILA – you have a backsplash!